This post may contain affiliate links. We may earn a commission if you purchase via our links.
Sweet Summer in a Jar
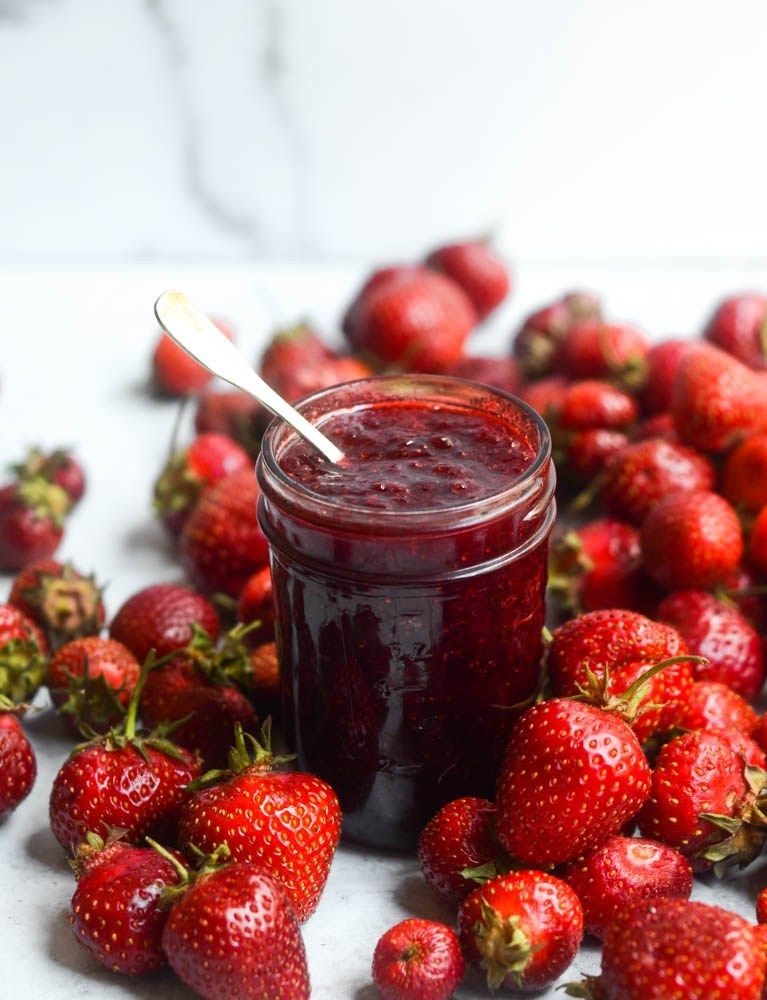
There is something so satisfying about turning fresh strawberries into bright, beautiful jam. If you are new to canning, strawberry jam is a lovely place to begin. This post shares a warm, simple overview along with a trusted water-bath method based on standard home canning practices. For safety, always use clean jars, follow tested measurements carefully, and process the jars for the full recommended time.
What You Will Need:
2 quarts fresh strawberries
4 cups granulated sugar
1/4 cup bottled lemon juice
1 package powdered fruit pectin
4 half-pint canning jars with lids and bands. The link will take you to the cutest little decorative jars. These are what I use on any jams or pickle that I intend to gift. I am not a proponent of using vintage antique jars for canning. I love them and use them in my storage and decorations, but I use jars that I know are in excellent shape with no issues whatsoever.
I am not a proponent of using vintage antique jars for canning. I love them and use them in my storage and decorations, but I use jars that I know have no issues.
Step-by-Step Strawberry Jam
Prepare the jars. Wash jars, lids, and bands. Keep the jars hot until ready to fill. Prepare your boiling-water canner and bring the water to a gentle simmer.
Wash and crush the berries. Rinse the strawberries well, remove the stems, and crush them one layer at a time. Measure the exact amount needed for the recipe.
Combine ingredients. In a large pot, stir together the crushed strawberries, bottled lemon juice, and powdered pectin.
Bring to a full boil. Heat the mixture over medium-high heat, stirring often, until it reaches a full rolling boil that cannot be stirred down.
Add the sugar. Stir in all the sugar at once. Return the mixture to a full rolling boil and boil hard for 1 minute, stirring constantly.
Fill the jars. Remove the pot from the heat. Ladle hot jam into hot jars, leaving 1/4 inch headspace. Wipe the rims, apply lids, and screw on bands until fingertip tight.
Process in a water bath. Place jars in the canner, making sure they are covered by at least 1 inch of water. Bring to a full boil and process for 10 minutes, adjusting for altitude if needed.
Cool and check seals. Remove jars and let them cool undisturbed for 12 to 24 hours. Check that each lid has sealed before storing.
Helpful Safety Notes
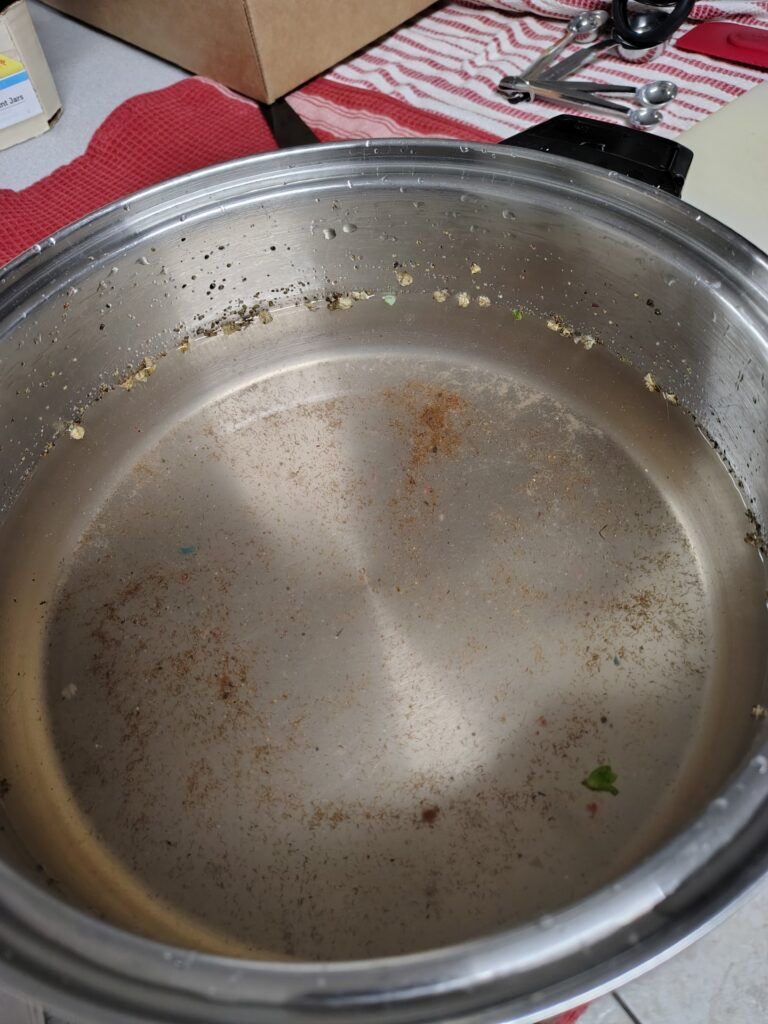
For the safest results, rely on tested canning recipes from trusted sources such as the National Center for Home Food Preservation, Ball, or your local extension service. Do not reduce the sugar, change the jar size, or skip the processing time unless you are using a tested variation. You definitely want to wash the berries in a mixture of water, a splash of white vinegar and a pinch of salt. This was left from 7 lbs. of fresh berries.
A Few Serving Ideas
Spread on warm biscuits or toast
Spoon over plain yogurt
Use as a filling for thumbprint cookies
Tuck a jar into a gift basket for a friend
Homemade jam is one of those simple pleasures that connects the garden, the kitchen, and the memories we make along the way. A row of ruby-red jars on the shelf is always a cheerful sight.